Queensland > South Queensland > Canungra
Beechmont - Rosin's Lookout
| Type | |
| Conditions | SSE-NE |
| Height | 1738ft/530m ASL |
| Rating | HG Advanced / PG2 |


Landowners - ?
Contact/Responsible
CHGCSee also
Description
The site is only to be used by current CHGC Members. Visiting Pilots welcome with conditions.
This site is only to be used by current CHGC Members. Visiting Members must have a site briefing from a current CHGC Safety Officer or Duty Pilot before flying. UHF Radiocarriage Mandatory!
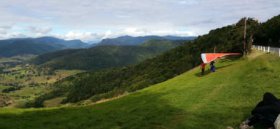
Takeoff
Access to Launch
Beechmont Launch is easy to get to. There is a sealed road to the site from Canungra along Beechmont Rd, this is a public road.
Landing
Beechmont has a new landing area known as the 'Big Shelf' that is located to the SE of the launch approximately halfway down the hill. It is a large nearly flat cleared area that has a North South orientation. This is the only official bombout at Beechmont so pilots must be aware if they are flying below launch height to keep the Big Shelf landing area within range and ensure they have enough height to line up for a safe approach and landing.
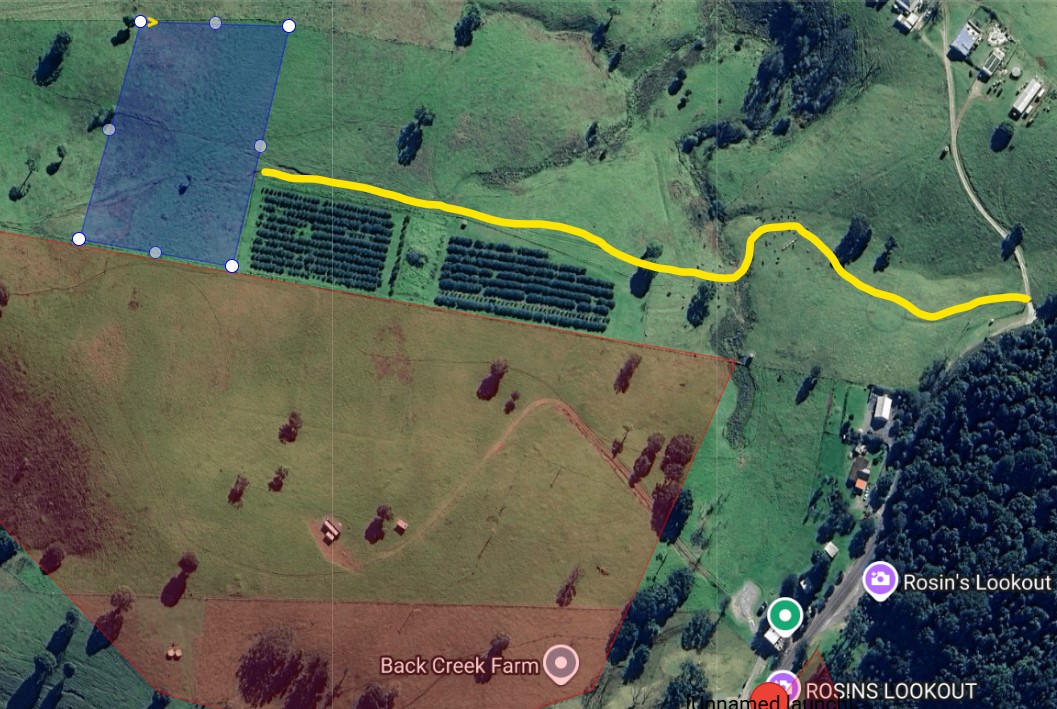
Bombout - walking out The walk out from the Big Shelf landing area is a 35-40 minute walk up through the club land back to the launch.
Orchard Top Landing. Walk out via track beside Orchard. Walk from the bottom of gully direct to property entrance. DO NOT pass through the old top landing property behind the cafe building
Flight
CTA: above 6500ft.
Hazards / Comments
- There is a sea breeze influence most afternoons in Spring and Summer. This can be great to soar but be aware that it can come roaring in.
- In northerly winds, the windsock may indicate a more easterly airflow, as if coming up the face of launch. Check the wind station for a more accurate reading.
- In southerly winds, potential for rotor on northern side of the southern ridge.
- Be aware of power line north of launch running down into the valley.
- In southerly winds, be aware of your glide back to the bombout, if in the northern bowl. Perform little passes back towards launch to ascertain the strength of the wind, before venturing further towards the northern bowl.
- If going XC from Beechmont, in moderate winds there is no safe landing until Hinchcliffe bombout,
- Face landings for PG4 or PG5 rated paraglider pilots are permitted to land anywhere along the face south of the windsock situated next to the road as shown in the diagram below.
Map information
